
RAID 1, also known as disk mirroring, is a fundamental data storage configuration that provides redundancy by maintaining identical copies of data across multiple drives. The ability to rebuild a RAID 1 array without data loss is not just possible—it’s one of the key features that makes RAID 1 valuable for data protection. This comprehensive guide will walk you through the entire process of safely rebuilding a RAID 1 array while preserving your critical data.
RAID 1: Basics
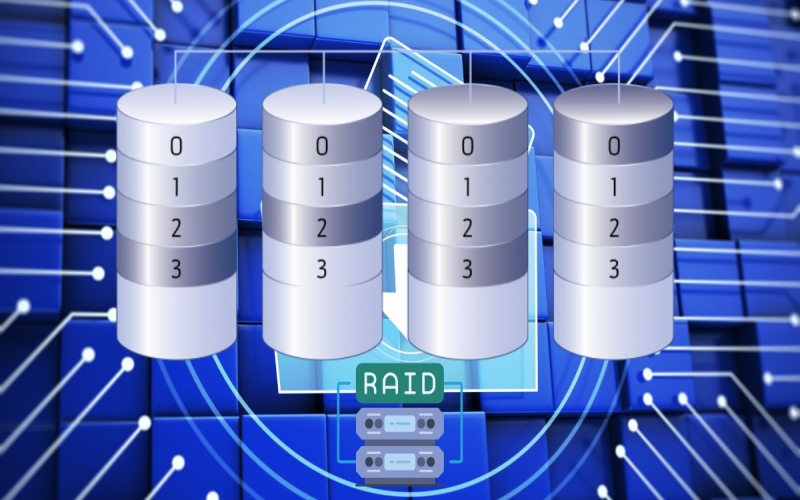
RAID 1 operates on a simple yet effective principle: everything written to one drive is simultaneously written to a second drive, creating a perfect mirror. This redundancy serves two crucial purposes: providing real-time backup and enabling continuous operation even if one drive fails.
The key components of a RAID 1 setup include:
- Two or more hard drives of equal capacity.
- A RAID controller (hardware or software-based).
- Operating system with RAID support.
- Management software for monitoring and maintenance.
While RAID 1 offers excellent data protection, it comes with certain limitations:
- Storage efficiency is 50% since half the capacity is used for redundancy.
- Write operations are slightly slower due to duplicate writing.
- More expensive than single-drive solutions.
Common Reasons for RAID 1 Rebuild
Several scenarios might necessitate a RAID 1 rebuild:
Drive Failure: The most common reason, where one drive in the array fails completely or shows signs of impending failure.
Performance Degradation: When one drive begins showing slower performance or increasing error rates, potentially indicating future failure.
Preventive Maintenance: Scheduled replacement of aging drives before they fail.
System Upgrades: Migration to larger capacity drives or newer technology.
Prerequisites for Safe RAID 1 Rebuild
Before initiating a rebuild, ensure you have:
- Current Backups:
- Full system backup.
- Separate backup of critical data.
- Verification of backup integrity.
- System Health Check:
- SMART status of remaining drives.
- Controller functionality verification.
- System logs review.
- Required Resources:
- Replacement drive(s) of appropriate capacity.
- Management software updates.
- Documentation of current configuration.
- Sufficient time window for rebuild.
Step-by-Step Rebuild Process
- Initial Assessment:
- Document current array configuration
- Verify system stability.
- Check available space.
- Review backup status.
- Preparation:
- Create current backup.
- Verify backup integrity.
- Document all settings.
- Prepare replacement drive.
- Drive Replacement:
- Power down system (if required).
- Identify and remove failed drive.
- Insert new drive.
- Power up system.
- Rebuild Initiation:
- Access RAID management interface.
- Initialize new drive.
- Start restore raid 1
- Document start time and settings.
- Monitoring and Verification:
- Monitor rebuild progress.
- Check for errors.
- Verify system performance.
- Document completion.
Best Practices During Rebuild
During a RAID 1 rebuild, following best practices is essential for both system performance and data protection. On the performance side, minimize system load by avoiding resource-intensive tasks, schedule rebuilds during off-peak hours (typically overnight or weekends), continuously monitor system resources (CPU, memory, disk I/O), and ensure adequate cooling since rebuilds generate additional heat. For data protection, maintain readily accessible backups throughout the process, regularly monitor error logs for warning signs, ensure a UPS (Uninterruptible Power Supply) is functioning to prevent power-related data corruption, and meticulously document all actions taken during the rebuild process, including start times, encountered errors, and any configuration changes.
Potential Risks and Mitigation
When rebuilding a RAID 1 array, several critical risks must be considered and mitigated. The most significant risks include the potential failure of the secondary drive during the rebuild process, unexpected power interruptions, RAID controller failures, and data corruption. To effectively mitigate these risks, implement comprehensive protection strategies including maintaining current and verified backups before and during the rebuild, utilizing an uninterruptible power supply (UPS) to prevent power-related issues, actively monitoring the rebuild progress for any signs of problems, keeping spare hardware (drives and controllers) readily available for immediate replacement if needed, and maintaining detailed documentation of recovery procedures in case of failure. These preventive measures significantly reduce the likelihood of data loss and ensure a smoother rebuild process.
Post-Rebuild Procedures
After completing a RAID 1 rebuild, thorough post-rebuild verification is essential to ensure system stability and data integrity. Begin with comprehensive system verification by checking the array status in the RAID controller interface, verifying data integrity through checksums or comparison tools, testing overall system performance, and updating all relevant documentation with the new configuration details. Follow this with detailed performance testing, including running complete disk diagnostics to check for any potential issues, measuring read/write speeds to ensure they meet expected performance levels, verifying that all applications function correctly with the rebuilt array, and carefully monitoring system logs for any warning signs or errors that might indicate underlying problems. These post-rebuild checks are crucial for confirming the success of the rebuild process and ensuring long-term system reliability.
Troubleshooting Common Issues
When encountering issues during a RAID 1 rebuild, following a systematic troubleshooting approach is crucial. For failed rebuild recovery, immediately stop the rebuild process to prevent potential data corruption, carefully document all error messages for analysis, verify all hardware connections including cables and power supplies, confirm drive compatibility with the array specifications, and only restart the rebuild process after addressing identified issues. Professional assistance should be sought in more complex scenarios, such as when experiencing multiple simultaneous drive failures, RAID controller malfunctions, signs of data corruption (like checksum errors or file system inconsistencies), or when dealing with complex error scenarios that exceed in-house technical expertise. These situations often require specialized tools and knowledge to resolve without risking data loss.
Preventive Measures for Future
Regular Maintenance:
- Schedule monthly health checks.
- Monitor drive SMART status.
- Update firmware regularly.
- Review system logs.
Documentation Requirements:
- Array configuration details.
- Hardware specifications.
- Maintenance procedures.
- Emergency contact information.
Final Words
Rebuilding a RAID 1 array without data loss is achievable with proper planning, careful execution, and appropriate precautions. The key to success lies in maintaining current backups, following established procedures, and monitoring the process carefully. While RAID 1 provides excellent data protection, remember that it’s not a replacement for proper backup procedures – it’s an additional layer of protection in a comprehensive data security strategy.
Table of Contents